
Bullet Journal Beginner Guide: Every thing you need to know, Part1
January 1, 2020 by SHANNON via wellella Blog
So, you wanna know what’s a bullet journal, do you? Maybe you’ve already seen lots of cool bullet journal ideas on Pinterest, or even checked out some YouTube videos, but you’re still not quite sure how to bullet journal.
Or maybe you’re sitting there scratching your head going, “What’s bullet journal, book to track your ammo?”
Don’t worry! Lucky for you, I’ve set up this nifty and thorough bullet journal guide to explain everything you could possibly be wondering about it.
What is a bullet journal?
In the words of bullet journal creator Ryder Carroll, the bullet journal is a “mindfulness practice disguised as a productivity system.”
My simpler bullet journal definition is this: it’s a notebook that keeps you organized using a special system.
The notebook part is simple (use whatever you want), but the system part is what throws people off.
I, like many others before me, found jargon such as Future Log, Signifiers, and Migration to be utterly perplexing. After much reading, I realized that the system is actually simple, practical, and yes – it works.
If you like writing with pen and paper, like making to-do lists, want to improve your habits, or want to get better at not wasting time, a bullet journal will be worth it for you!
If you’re confused about all the funny words bujo-ers use (like bujo), check out my bullet journal glossary post. It’s an explainer that should help you understand the terms and abbreviations commonly used in the planner community.
How To Bullet Journal In 5 Easy Steps
Before you start a bullet journal, you’re gonna need to create a kind of framework. This framework is what makes the bullet journal method work.
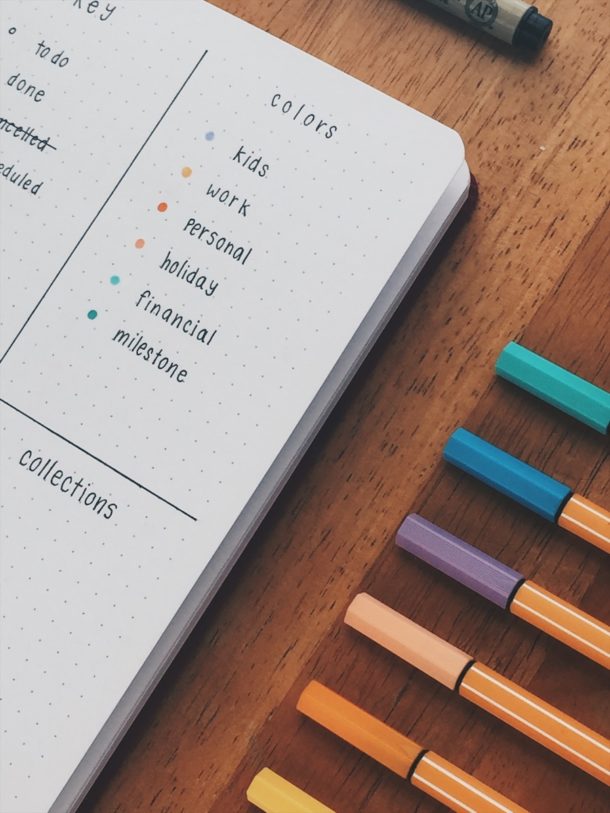
The bullet journal method is made up of several different modules:
- a table of contents (the Index Page)
- a yearly overview (the Future Log)
- monthly overview pages (Monthly Logs)
- weekly or daily overview pages (Weekly and Daily Logs)
Step One – Index Page
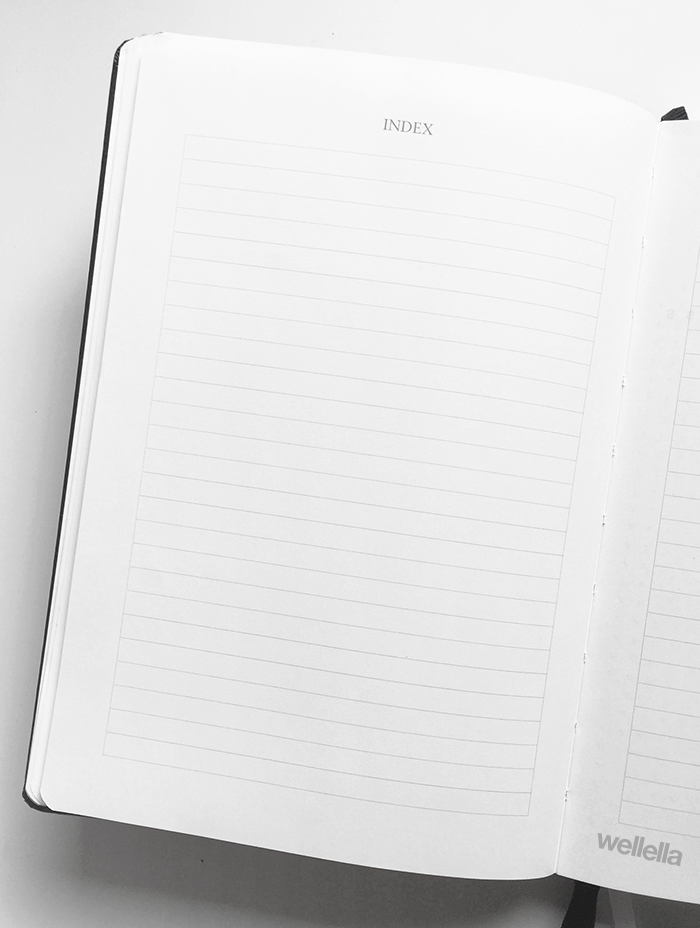
As mentioned above, the bullet journal index page is like a table of contents, helping you keep track of where things are located in your notebook. In order do to this, you’ll first need to number the pages in your journal.
Once you’ve got numbered pages, you can designate a page or two to use as your index. In the same way that books usually put the table of contents right at the front, most bullet journalers put their index on the first page or two of their journal.
You don’t need to do anything too fancy here for now, just maybe write the word “Index” as a header. Later, you’ll fill in this area with the important topics in your journal and what page to find them on.
Pretty spiffy, eh?
Step Two – Future Log
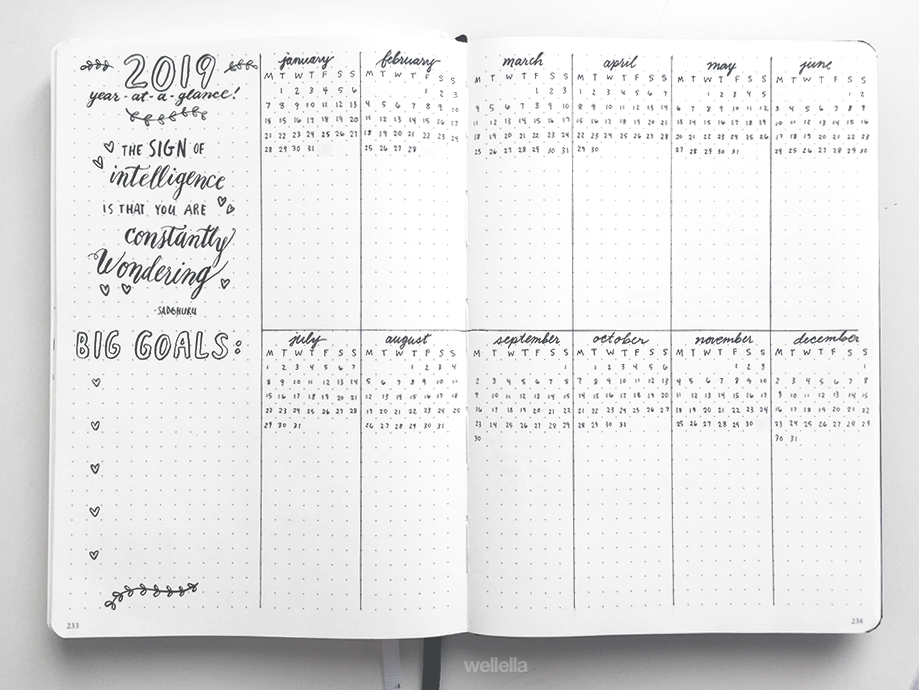
The Future Log gives you an overview of the year ahead. Like a calendar.
So in your Future Log you’ll write down all the birthdays, events, appointments, and other important dates coming in the months ahead.
Here’s another future log example:
Now, you must be wondering, what comes after the future log? I’ll tell you.
It’s your first monthly log. Yay!
Step Three – Monthly Log
The Monthly Log gives you a big-picture view of the month ahead.
A monthly calendar spread is where you can write down all the happenings, events, birthdays, goals, monthly tasks, etc.
You’ll create a new monthly log at the start of each month. If you’re setting up your bullet journal for the first time, during the middle of the month, just make a monthly log for the current month.
The basic set up for the monthly log is to use two facing pages.
On one side, you can put a calendar page. Some people put a list of all the days of the month, some prefer to make a calendar grid. You do you.
Once you’ve created the calendar, just log your upcoming events. You can also add them in as they occur later.
On the facing page, list your goals, objectives, monthly tasks. I like to write down any holidays and special awareness themes for the month here as well.
As you can see if you’ve been following along with these steps, making a bullet journal is not that hard. There’s one more special page to set up.
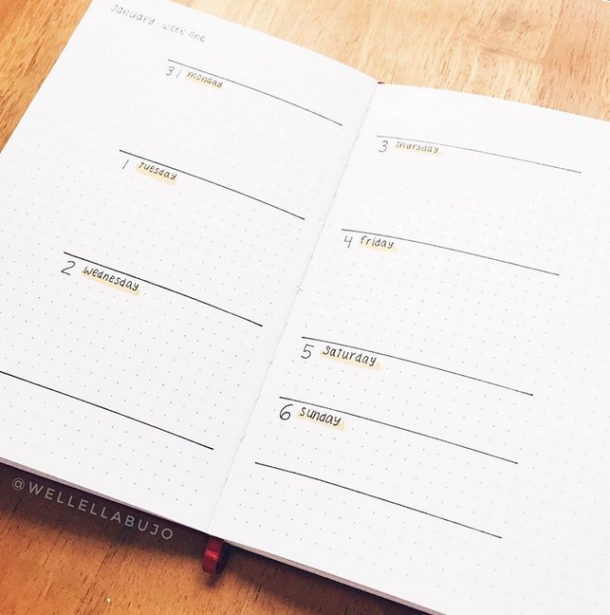
Step Four – Weekly Log
Okay, so weekly logs were not originally included in the official bullet journal set up.
BUT from what I see, most bullet journalers make them.
It’s useful to see what you’ve got going on for the rest of the week, and to see how far away you are from the weekend, is it not?
To make a weekly log, you can either use a single page, or two facing pages. I recommend starting out with two facing pages. If you find that you still have plenty of blank space after a week, you can cut back to using only one page for the next week.
All you need to do here is write out the days of the week, equally spaced. The typical weekly spread layout is some kind of grid. In the above example I wanted to keep it simple-looking by using only horizontal lines.
Step Five – Daily Log
Daily logs are the bread and butter of bullet journaling. This is where you’ll keep a running list of tasks, events, and notes for the day. It’s kind of like a daily to-do list, but where you also log things you want to remember.
For example, if you have any appointments, meetings, classes, or things you need to get done for the day, write them in your daily log.
The daily log is also a good place to keep track of what happened during the day. If you want to track your water intake, you can write down how many glasses of water you drank. You can log your exercise, reading, what you ate, or any other things you did.
If you’re using a weekly log, you can just do your daily logging in the areas you already wrote out for each day.